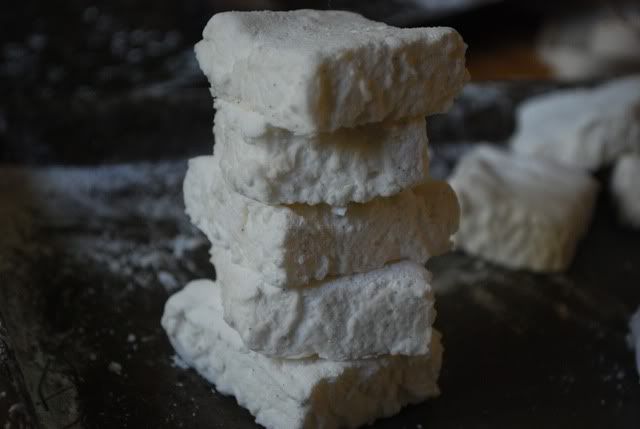
I don't remember exactly how I became so set on having a big campfire and making s'mores. It was probably as I was (yet again) flipping through Baking: From My Home To Yours. I noticed a very promising recipe for marshmallows and was instantly enamored, partly because marshmallows are such a novelty. We never think of them as a traditional baked good made at home, like cookies or cakes; they always come pre-packaged and, quite frankly, taste like plastic.
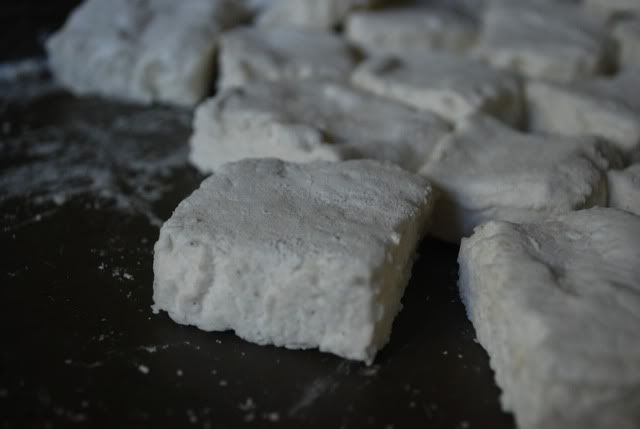
But I was curious and sure that these would taste better. So last weekend I set to making them, the only change being that I tossed in a vanilla bean to dress them up a little bit.
Marhsmallows are actually ridiculously easy to make. They are pretty much a seven minute frosting with gelatin beat in to make the mixture set up, which is then spread, dried, and cut into fluffy little pieces. They do require a bit more coordination than other home baking projects, so you should make sure that your work space is uncluttered so that you can move swiftly from one step to the next, and read through the entire recipe before starting to organize yourself (but you already knew to do that with all recipes, right?).
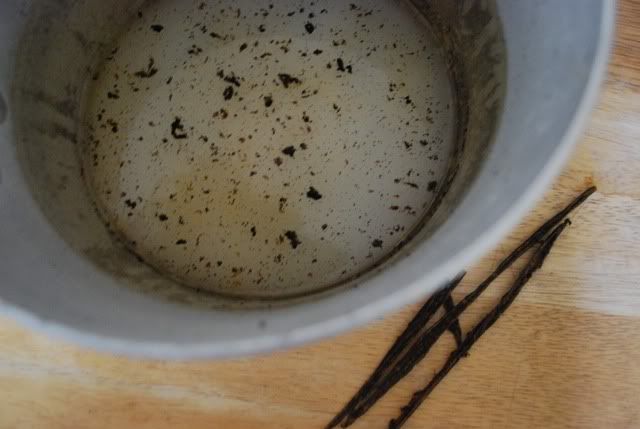
It's fascinating to watch a simple syrup, some egg whites, and gelatin transform into the huge, delightfully fluffy meringue used in marshmallows. Work quickly to avoid letting the mixture set up before you spread it out, as it will tend to do.
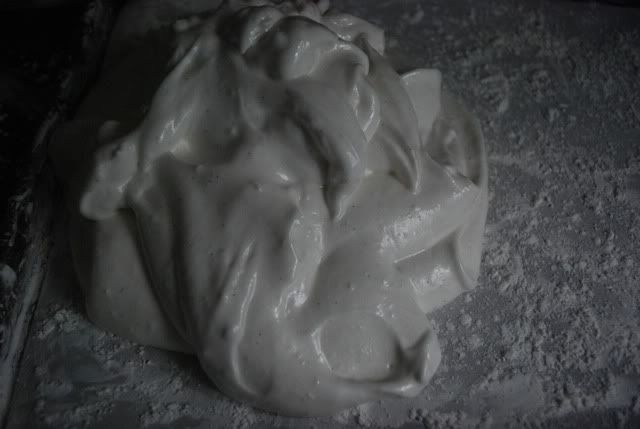
That, and use a lot of cornstarch. Resign yourself right from the start to the fact that you, your kitchen, and anything within a ten-foot radius of your counter will be covered in cornstarch (and yes, it will be worth it).
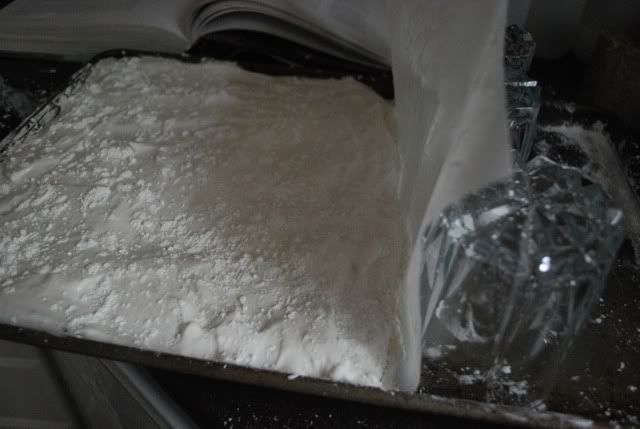
Spread the mixture out and use a few glasses to create a barrier with the parchment paper on the side that does not meet the edge of the baking pan, as shown above. This will keep your marshmallow-y mass from spreading all over the pan.
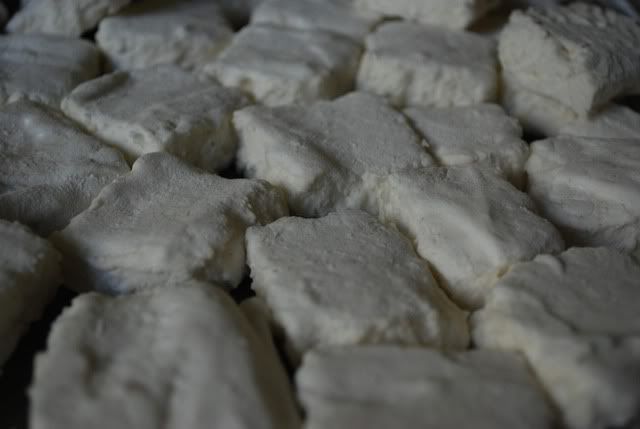
These marshmallows turned out great. We did have them as s'mores around a camp fire, and it was wonderful. They taste like a much better version of the store-bought marshmallows that everyone remembers so fondly from childhood, with none of that lingering plastic taste. Even my mom, who hates marshmallows, really loved these.

Though we ate quite a few around the campfire, I knew that having them lying around the house was dangerous to everybody's health (and, particularly, my waistline). So I took the leftovers in to school and shared them with classmates. Everyone that tried them loved them, and it was so funny to see the looks on peoples' faces when they asked, "You can make marshmallows at home?"
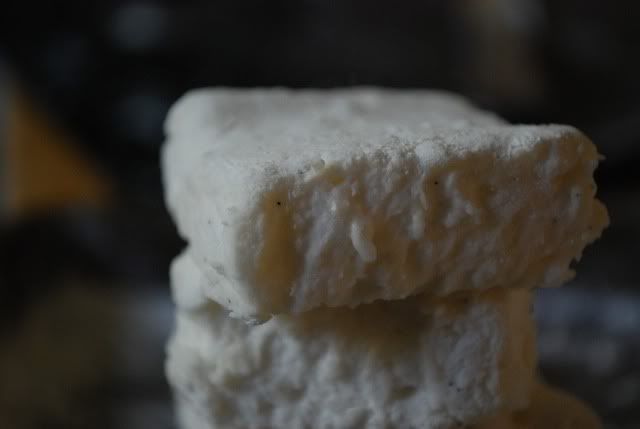
The answer is yes, and they are endlessly better than the store-bought kind, as well as surprisingly easy. Made into s'mores or eaten as-is, they're a laid-back, unpretentious, and simply tasty treat.
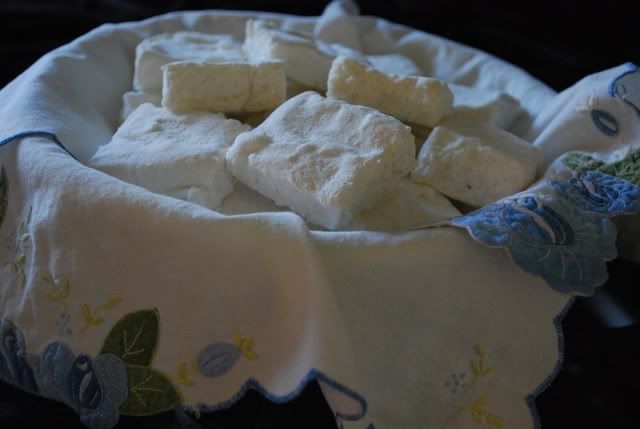
Vanilla Bean Marshmallows
From Baking: From My Home to Yours, by Dorie Greenspan
Ingredients
1 cup cornstarch or potato starch
3/4 cup cold water
1 1/4 cups plus 1 tablespoon sugar
2 tablespoons light corn syrup
2 1/4-ounce packets unflavored gelatin
3 large egg whites, room temperature
1 vanilla bean
Trim a piece of parchment paper to line a baking sheet with a one-inch high rim. Dust generously with some of the cornstarch.
Combine 1/3 cup of the water, 1 1/4 cups of the sugar, and the corn syrup in a medium saucepan fitted with a candy thermometer.
Cut and scrape the contents of the vanilla bean into the mixture.
Over medium heat, bring the mixture to a boil, stirring until the sugar dissolves.
Once the sugar has dissolved, cook the syrup without stirring to 265F.
As the syrup cooks, sprinkle the gelatin over the remaining water and let sit 5 minutes, until spongy.
Heat the gelatin in a microwave for 20 to 30 seconds, until it is liquefied.
Place the egg whites in the bowl of an electric mixer fitted with the whisk attachment.
Beat on medium-high speed until firm and glossy. Do not overbeat.
When the syrup reaches 265, pour it into the egg whites with the mixer running on medium speed.
Add the gelatin and beat for another three minutes, until fully incorporated. It will be very fluffy but will not hold stiff peaks.
Scrape the mixture onto the baking sheet, close to one of the short ends.
With a spatula, spread it out to the corners and as far as it will go towards the center while still remaining at an inch in height (It won't fill the whole pan).
Lift the uncovered, excess parchment paper up so that it meets the edge of the mixture, and place a few glasses against its edge to keep it in place.
Dust the top of the mixture with some more of the cornstarch and place in a cool, dry place.
Let dry for 3-12 hours.
Once set, cut the marshmallows into shapes with a sharp knife or a pair of scissors. Rinse and dry your instrument frequently to avoid sticking.
Place the remaining cornstarch in a large bowl.
Drop the marshmallows in. When there are five or so in the bowl, turn them to coat, and then toss each one from one hand to the other to remove any excess cornstarch.
Store in a cool, dry place, loosely covered.

Awesome!
ReplyDeleteYour backyard souonds cool! I rarely go out in mine because it's big and empty, so there's nothing much to do there. Plus, the neighbours can see straight into the backyard so I always feel like I'm being watched.....
ReplyDeleteThese look so soft and squishy and cute! I made marshmallows once, but I think the recipe wasn't to good and they came out really wet and too sweet- the recipe didn't even say to coat them in cornstarch =[ Yours look so much better!
yummmmmm those look divine!
ReplyDelete